

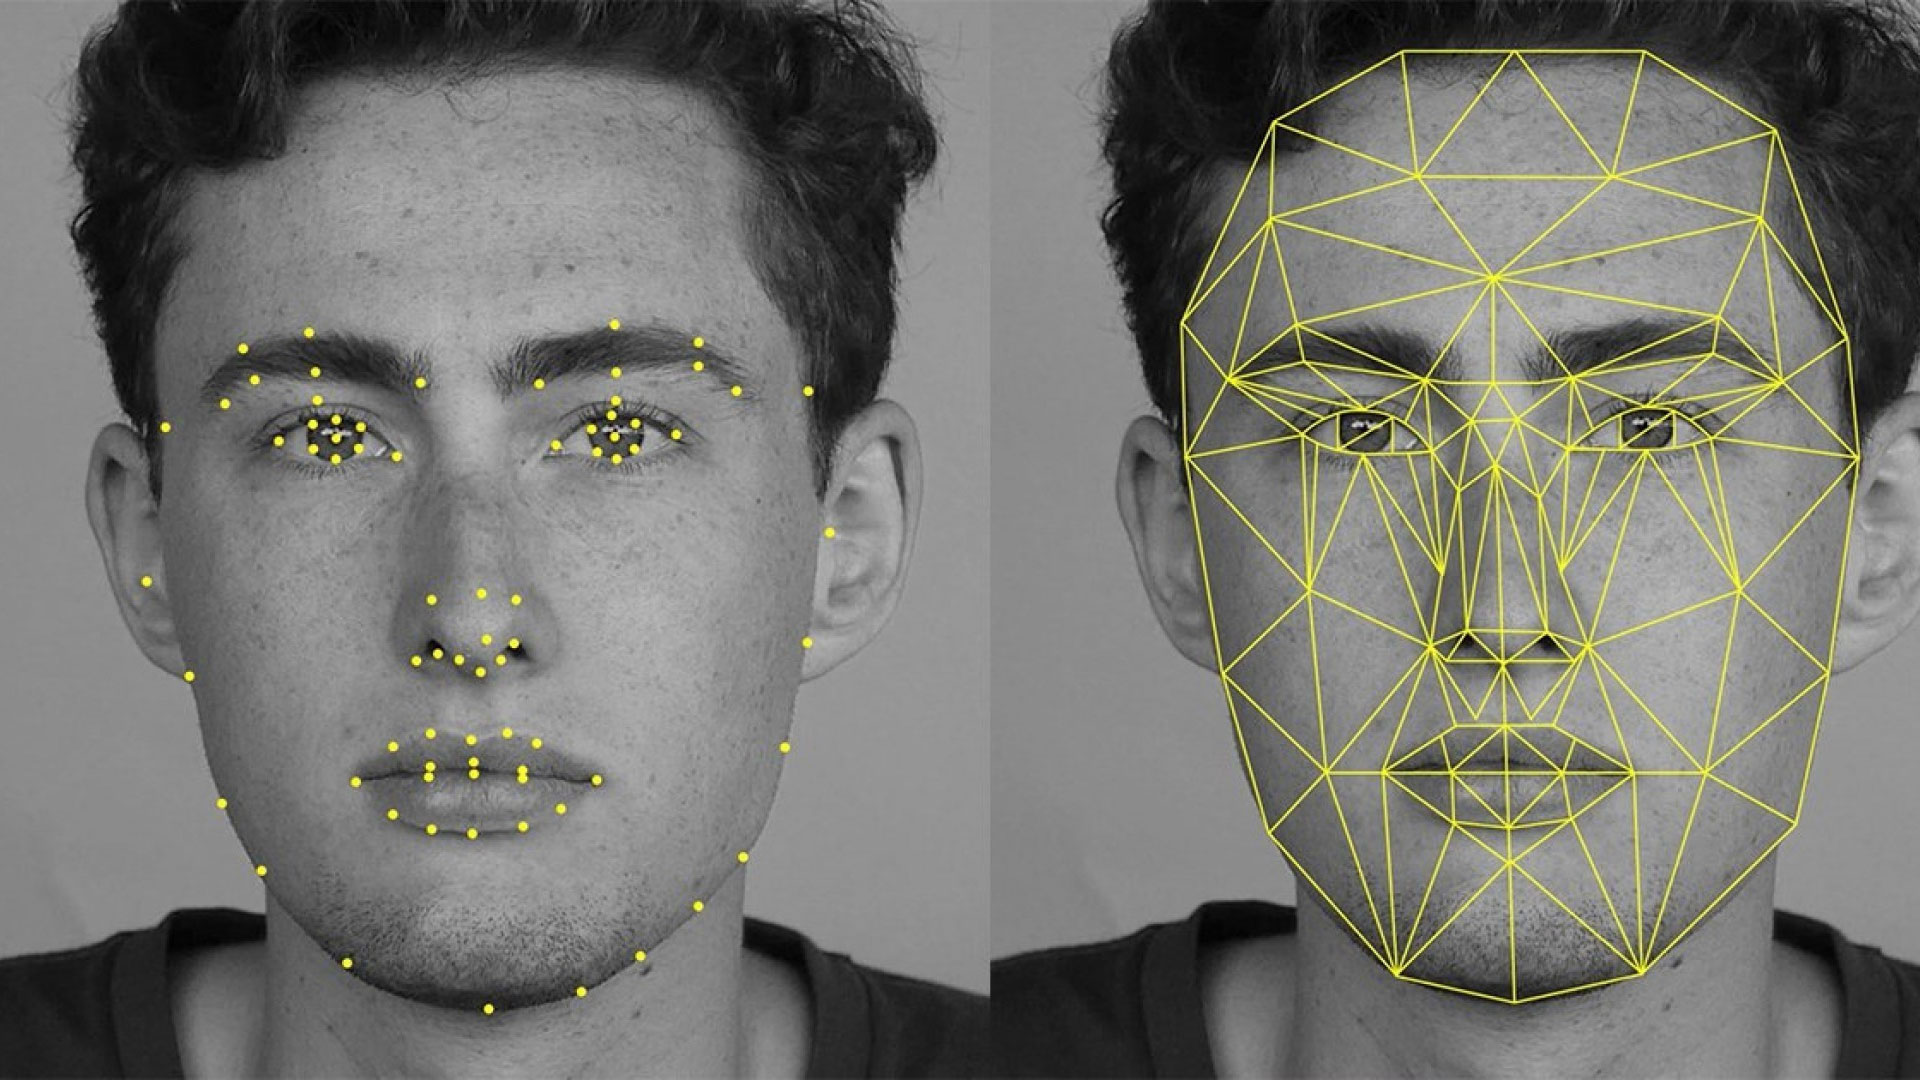
Hello Everyone ! Today I am going to illustrate a program which can read faces and can detect a SMILING face from it. I will also show how to plot the time frequency graph of the Smile.In the current era of increasing AI technologies these kind of programs can prove to be very useful.
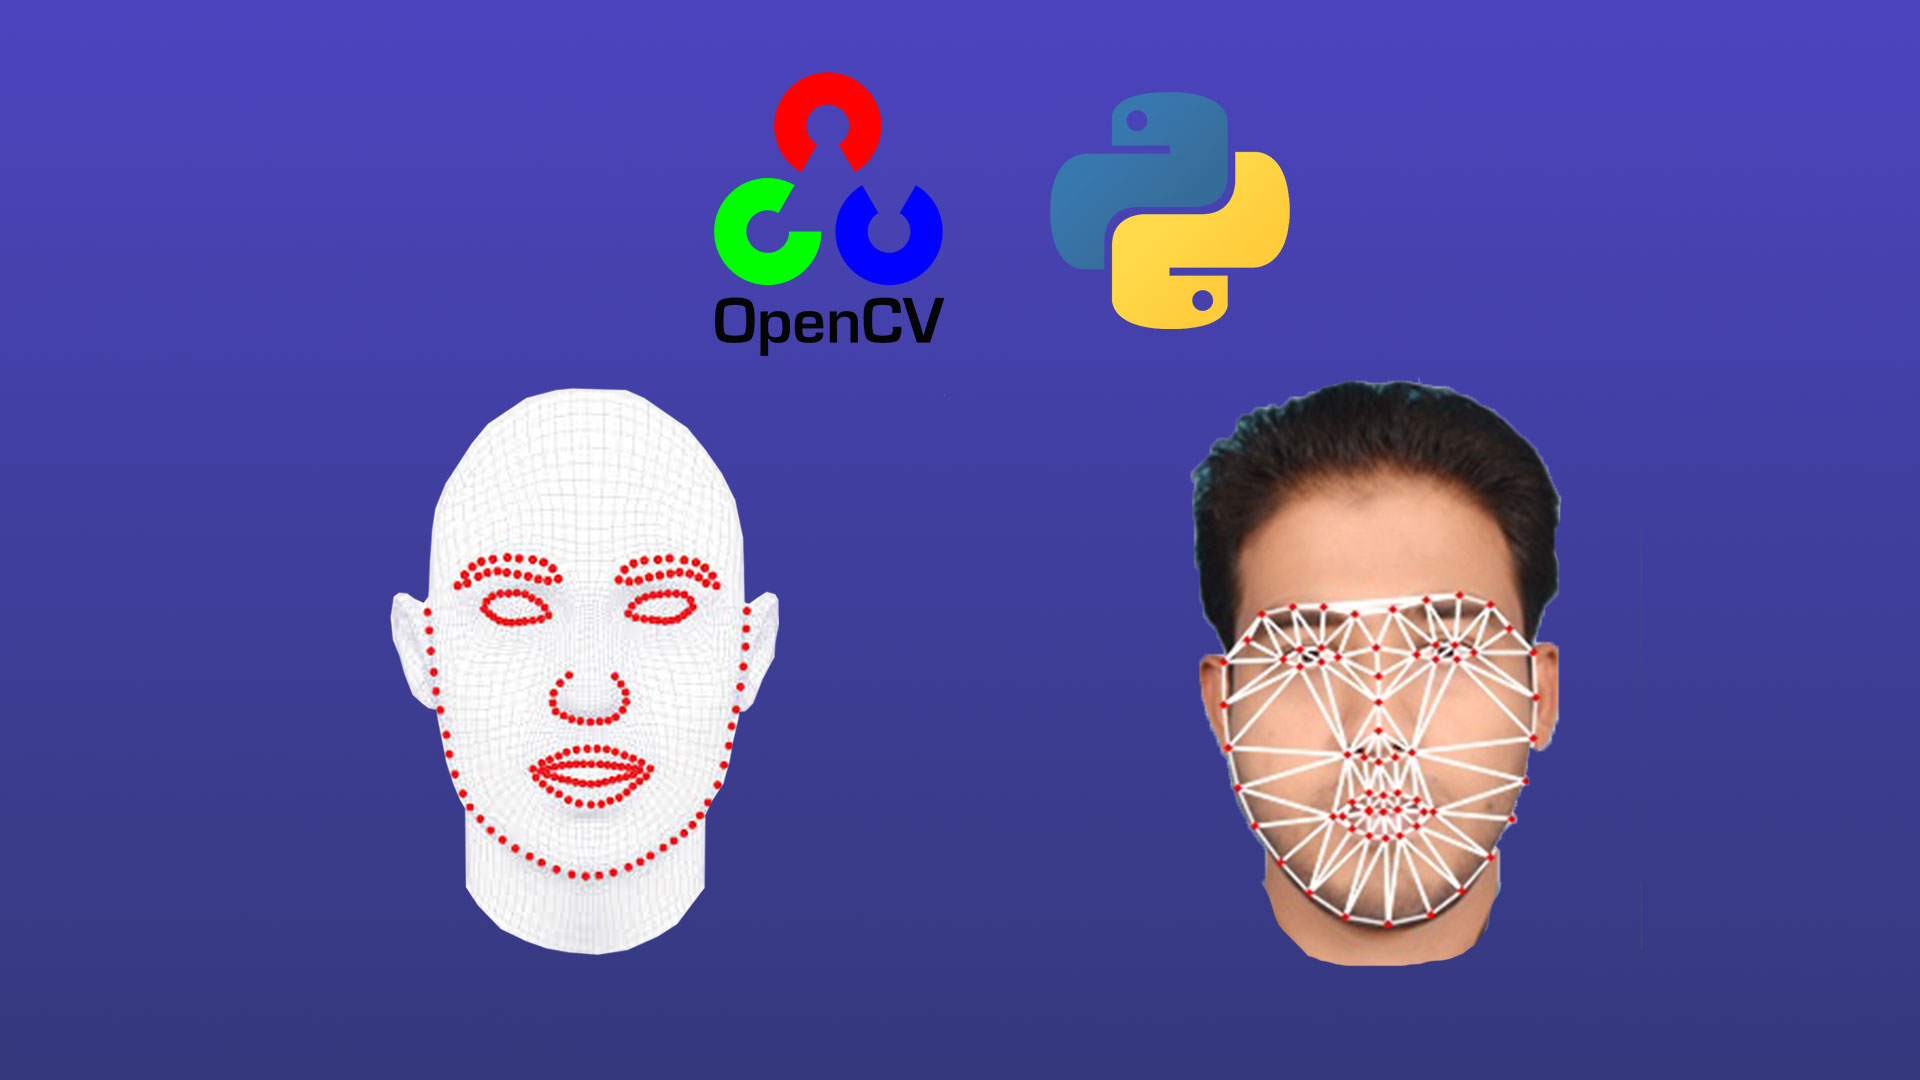
I will be using the OpenCV, Pandas,Numpy and Bokeh package from the python for face detection and demonstrating the smile frequency over time in the browser.Some of you might not be familiar with these packages,but don’t worry ,I will explain the use of each package as we proceed with the tutorial. So before going any further let’s install all the packages using pip.Open your windows console and type the below command :
pip install numpy opencv-python pandas bokeh
Now that our libraries are installed lets start to build our program.Before going any further I would like to tell you that I have divided this tutorial into two parts. Part 1 deals with the face detection and smile detection logic and Part 2 will deal with the plotting of data.
Now lets start PART 1 :
Lets create our working directory named ‘Smile App’, and create a python file named ‘app.py’ in the directory.We start our program by importing the required libraries.Write the below code in the app.py file.
import cv2
import pandas as pd
from _datetime import datetime
Now, we need to download and paste the Haarcascade files for frontal face and smile into our working directory.To guys who are not familiar to Haarcascades ,I would like to tell you that Haarcascade files are xml files which in very simple terms set of features set for an object, which classifies it.For eg. haarcascade file for frontal face can be used to detect front face of human.You can learn more about this on the official website of OpenCV.
Once the cascade files are copied in our folder we are ready to import them in our script..
face_classifier = cv2.CascadeClassifier('haarcascade_frontface.xml');
smile_classifier = cv2.CascadeClassifier('haarcascade_smile.xml');
Now since our cascade files are in place we can proceed further and start using these for our detection algorithm.
times=[]
smile_ratios=[]
cap = cv2.VideoCapture(0)

while 1:
    ret, img = cap.read()
    gray = cv2.cvtColor(img, cv2.COLOR_BGR2GRAY)
    gray = cv2.GaussianBlur(gray, (21, 21), 0)
    faces = face_classifier.detectMultiScale(gray, 1.3, 5)
    for (x, y, w, h) in faces:
        cv2.rectangle(img, (x, y), (x + w, y + h), (255, 0, 0), 1)
        roi_gray = gray[y:y + h, x:x + w]
        roi_img = img[y:y + h, x:x + w]
        smile = smile_classifier.detectMultiScale(roi_gray, scaleFactor=1.2,
                                                  minNeighbors=22,
                                                  minSize=(25, 25))
        for (sx, sy, sw, sh) in smile:
            cv2.rectangle(roi_img, (sx, sy), (sx + sw, sy + sh), (0, 255, 0), 1)
            sm_ratio = str(round(sw / sh, 3))
            font = cv2.FONT_HERSHEY_SIMPLEX
            cv2.putText(img, 'Smile meter : ' + sm_ratio, (10, 50), font, 1, (200, 255, 155), 2, cv2.LINE_AA)
            if float(sm_ratio)>1.8:
                smile_ratios.append(float(sm_ratio))
                times.append(datetime.now())
    cv2.imshow('Smile Detector', img)
    k = cv2.waitKey(30) & 0xff
    if k == 27:
        break
ds={'smile_ratio':smile_ratios,'times':times}
df=pd.DataFrame(ds)
df.to_csv('smile_records.csv')
cap.release()
cv2.destroyAllWindows()
Lets examine the code above :
- We define two empty python lists which will store our the smile ratio and time.
- We use ‘cv2.VideoCapture(0)’ to capture the user video and detect the smile of the feature in real time.I would like to tell you that video is nothing but images in sequence.So over here also we will follow the same principle.
- We start an infinite loop so that the video can continue reading until the user halts it.Over here we break the loop once the user enters ‘esc’ key using the last three lines of the program.
- Next we start reading the video frame one by one and convert them to gray scale because the opencv detection algorithm works on gray scale images.After that we do some preprocessing of the image by applying the Gaussian blur function.
- Next we detect the user face using the ‘detectMultiscale’ function of face cascade classifier.Once detected we create a ROI (region of interest) ,which over here is the face and draw a rectangle around it.
- We move further and use ‘detectMultiscale’ function of smile cascade classifier.Once detected we create a ROI for it and draw a rectangle around it.
- Now we calculate the area of the smile ROI and compute the ratio of the smile.
- After this we put a condition to record the smile ratio and its respective time only if its greater than 1.8 (please note that this value is purely experimental).
- Now since our list is populated with the data we proceed further one step down and use our pandas skills to store the data in a dataframe.For those who are not familiar with pandas,please note that pandas is data analysis tools for the python.You can read more about it here.
- At last,we save our pandas dataframe to a csv file and close the release the window created by opencv.
Now that our program is clear, its time to execute it.For this move to your project directory, hold shift and right click to open command window.Once the command window is open type python app.py to run the ‘app.py’ script.
Thats all folks for this tutorial. We will proceed to the next step in the part 2 of this tutorial series.
Man, this makes no sense:
sm_ratio = str(round(sw / sx, 3))
Thanks for your feedback !
The sm_ratio here denotes the ratio of the width and height of the mouth while smiling or laughing.
The logic applied here is that when a person smiles more or laughs more the width of the mouth increases which on the other hand increases the sm_ratio.
sm_ratio = str (round (sw / sh, 3))
what does 3 mean here?
Hi… 3 here is the second parameter of Python’s round function which means number of decimal places. For e.g. round(7.65432,3) will result in 7.654 .