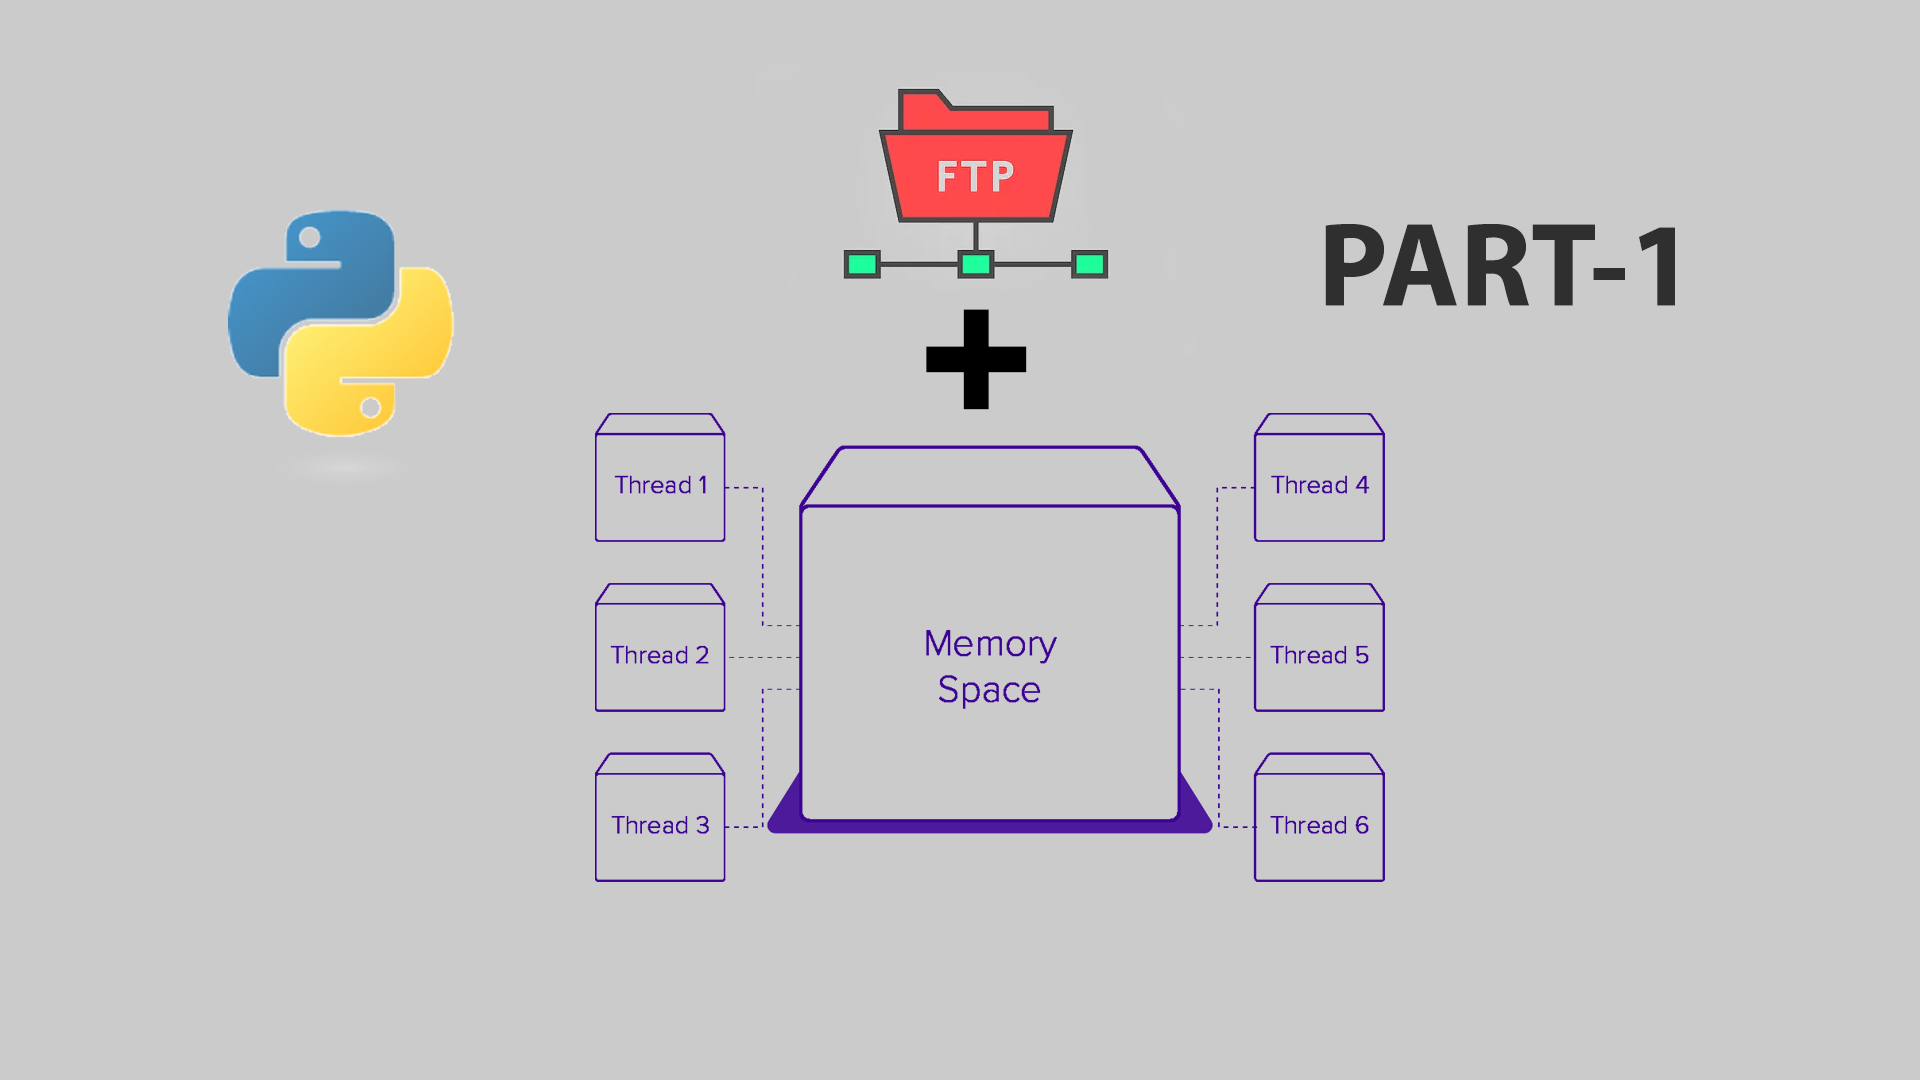
Hello guys ! In this tutorial series I will be showing to develop an interactive shell program in Python for FTP services. The modules which I will be using for the ftp service is Ftplib module which is an inbuilt module in Python. For those who want to learn more about this module can go through its documentation here. Also the program will show, how to use Multithreading in Python to divide multiple tasks and enhance the computational capabilities of the program.
This tutorial is splitted in two parts. The first part deals with the development of the Ftp services class and the second part deals with the Multithreading part. Now lets jump to the first part of our tutorial which is Developing Interactive FTP Shell Using Ftplib and Multi-threading in Python.
First of all lets have a foundation on the ftplib module’s functions that we will be using in our program.
FTP.login(user=’anonymous’, passwd=”, acct=”)
Log in as the given user. The passwd and acct parameters are optional and default to the empty string. If no user is specified, it defaults to 'anonymous'. If user is 'anonymous', the default passwd is 'anonymous@'. This function should be called only once for each instance, after a connection has been established; it should not be called at all if a host and user were given when the instance was created. Most FTP commands are only allowed after the client has logged in.
FTP.storbinary(cmd, fp, blocksize=8192, callback=None, rest=None)
Store a file in binary transfer mode. cmd should be an appropriate STOR command: "STOR filename". fp is a file object (opened in binary mode) which is read until EOF using its read() method in blocks of size blocksize to provide the data to be stored. The blocksize argument defaults to 8192. callback is an optional single parameter callable that is called on each block of data after it is sent. rest means the same thing as in the transfercmd() method.
FTP.retrbinary(cmd, callback, blocksize=8192, rest=None)
Retrieve a file in binary transfer mode. cmd should be an appropriate RETR command: 'RETR filename'. The callback function is called for each block of data received, with a single bytes argument giving the data block. The optional blocksize argument specifies the maximum chunk size to read on the low-level socket object created to do the actual transfer (which will also be the largest size of the data blocks passed to callback). A reasonable default is chosen. rest means the same thing as in the transfercmd() method.
Getting Started…
- At first lets create our project directory and name it as you want. Now inside this directory create two more directories named downloads and uploads.
- Now create a python file in your project root directory and name it ftpservices.py. Now, add the first and foremost line to our ftpservices.py file like this:
from ftplib import FTP
- Now create our FtpServices class and write the code as below :
class FtpServices(object):

    def __init__(self, host, uname, upass):
        self._host = host
        self._username = uname
        self._password = upass
        self._ftp = FTP(self._host)
        self._ftp.login(user=self._username, passwd=self._password)

    def downloadFile(self, filename):
        self._ftp.cwd('public_html/')
        localfile = open('downloads/'+filename, 'wb')
        self._ftp.retrbinary('RETR '+'/'+filename, localfile.write, 1024)
        self._ftp.quit()
        localfile.close()

    def uploadFile(self, filename):
        self._ftp.cwd('public_html/')
        filename = filename
        self._ftp.storbinary('STOR '+filename, open('uploads/'+filename, 'rb'))
        self._ftp.quit()
Lets analyse the above code now :
- We create the class Ftpservices and extend it from Object class in the first line.
- Now we define the constructor function where we also create an instance of the FTP class and call its login method. For the complete list parameters which can be provided in the FTP class instance creation and login methods can be found in the documentation of the ftplib module.
- The second function defined here deals with the file downloading mechanism as depicted by its name.The first line of the function deals with changing the current working directory of the remote server to
public_html.Then we open a file in our downloads directory (we created it in the first step) and assign thelocalfilehandle to it. Now we execute the command for downloading the file and writing it to thelocalfile. Next we close the connection and file. - The third function deals with the file uploading mechanism which is comparatively easier than the download function above.As before we change our current working directory to
public_html. Next we execute the upload command for the FTP, which will copy the local file of our upload directory to the remote server..And at last we close the FTP connection.
That’s it guys for this tutorial ! In the second tutorial we will deal with multithreading part of this tutorial series.

